
In this article, we are going to discuss how to share WordPress posts on Facebook automatically.
These days social media are a popular platform for sharing blog posts with new audiences. Your website visitors can increase in no time if you have an engaging Facebook post.
It consumes a lot of time if you try to post every blog manually if you publish an article on a daily basis. You may also forget if you have a busy schedule. But don't panic, you can share Wordpress posts on Facebook automatically and save a few hours in your workweek.
Facebook boasts more than a billion user on a daily basis and offers you a great opportunity for you to distribute your content. You can maintain your active profile by automatically sharing your content to engage visitors from your Wordpress website.
Now, we will discuss some methods to share Wordpress posts on Facebook automatically.
How to share WordPress posts on Facebook automatically?
1. Using WordPress Plugins to share WordPress posts on Facebook automatically
WordPress offers some plugins for automatically sharing your WordPress content to Facebook. Let's go through some of the plugins.
• WP2Social Auto Publish
WP2Social Auto Publish helps to publish your WordPress content to Facebook with just one click. There are a variety of ways to share your post that includes text formats, text with image or link. It allows to enable or disable publishing specific WordPress pages.

• FAuto Poster
FAuto Poster is the most widely used plugins for sharing your website's content on your fan page and Facebook profile. It allows you to configure the types of posts to be published and tracks all of your auto-posts for future reference and analyzation.

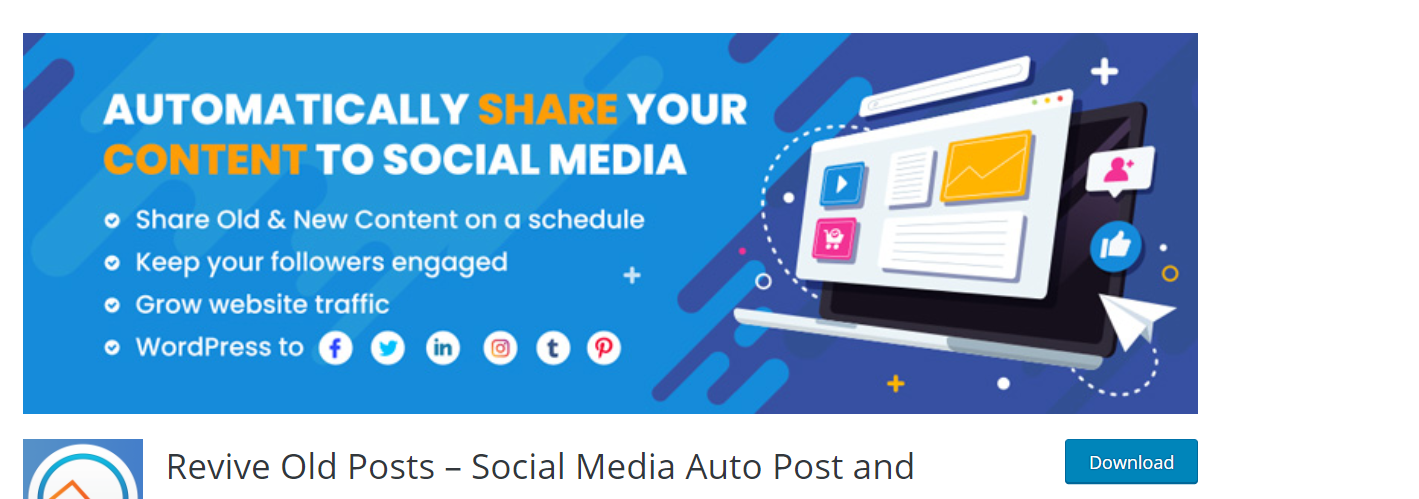
• Revive Old Posts
This plugin allows automatic sharing of old and new WordPress content on your Facebook fan page. It allows you to choose the number of posts and allows you to set time when to share each post.
You can even add targeted hashtags to your posts. The good thing about Revive Old Posts is that it is compatible with URL shorteners and integrates with Google Analytics.
2. Using IFTTT to share WordPress posts on Facebook automatically
IFTTT stands for ( if this then that) and is a popular online tool that helps to automate online accounts and make the internet work for you.
You can define applets and each applets helps to connect your two online accounts. If it detects trigger on one account, it performs your predefined action on the other account.
You can set up IFTTT to post to your Facebook automatically when you post content on WordPress.
Now, let's go through the setup process.
Go to IFTTT's website and create a new account. Once you've signed up, click to your username on the upper-right corner of the screen. Now, select " New Applet" from the available options.
 Source: wpbeginner.com
This action will open an IFTTT wizard and simply click "+this" link to start the wizard.

Now, you should choose a service. Since you are going to use WordPress, type WordPress on the box and click the " Connect" button to continue.

Now, IFTTT asks you to enter your site's address, your username and password. Fill all the required information and click " Connect". Now, IFTTT saves your information and connect to your website.

After this, you should select the triggers for your WordPress site. You can choose either when any new posts are published or when new posts are published with tag or category.
Choose any one of the options and you will be directed to " that" part of your IFTTT applet.

Now, click " +that" link which allows selecting a service. You should select a service where you want your posts to be published. Search for Facebook and you will see two option " Facebook" and " Facebook Pages". Select Facebook if you want to publish your content to your personal profile if not select Facebook Pages.
After this Facebook will ask for permission to connect your account to IFTTT.
Now, IFTTT shows you some actions you can take on Facebook. Simply click " Create a Link Post" to continue.
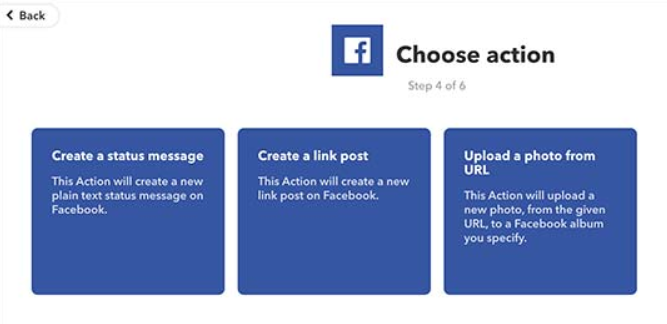
After this, you can change how you want your post to appear on Facebook in action settings. If you choose to add the only link, Facebook will fetch post title, description and thumbnail.
Finally, click " Create action" button to complete the setup process to share WordPress posts on Facebook automatically.
3. Using Buffer to share WordPress posts on Facebook automatically
Buffer is also an online tool that helps to schedule status updates for various social media profiles.
The first thing you should do is to head towards Buffer website and sign up for an account.

The good thing about Buffer is that it allows you to schedule a time for your post. You can choose the time when you want to make your post visible to your social media visitors.
Once you've signed up, you should connect it to your WordPress site. You can establish the connection using the " WordPress to Buffer" plugin.

Head towards WordPress to Buffer page to configure plugin setup once it gets activated.
You should fill up an access token to get connected to Buffer. Below it, you can see the Callback URL. Copy it as it is required in the next step.
After this head towards Buffer's website and click " Create an app" tab. Fill up all the information like your app name and description, your WordPress site's URL and callback URL you had just copied earlier. After filling up all the information click " Create Application".

Your app will be created now and it will show API keys and access token on the next page.
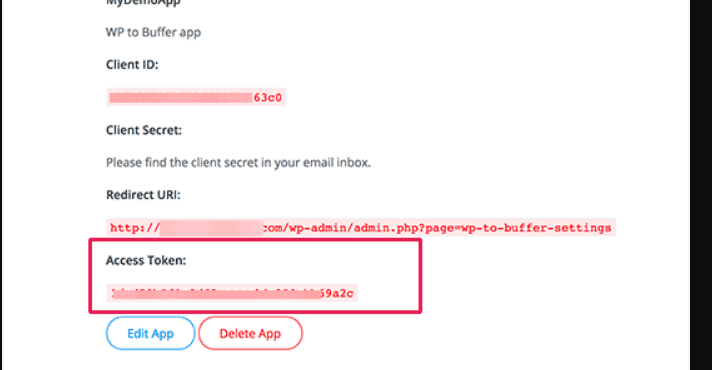
Copy the token from this section and paste it on the plugins settings page and click " Save" to store your settings.
Now, plugins establish the connection between your WordPress site and buffer account. After getting connected you will see two new tabs labelled posts and pages on the plugins settings page.
In order to configure your posts, you will need to click on the Posts tab.
Plugins show all the social media that are connected to your Buffer account. If you don't see any social media, go to Buffer account and add them.
If you are planning to share on Twitter, click it and check the box that says " Enable Account" option. You can choose other media too by following the same procedures. Now, click "Enabled" under Publish to view more options. Fill the information like URL and don't forget to hit " Save" to store your settings and we're done.
 Source: quodeinteractive.com
Conclusion
We have discussed three methods to share WordPress posts on Facebook automatically and easiest of them is by using IFTTT tool. But if you are looking for more publishing options, you can use various plugins but they are quite complex to setup. If you haven't started publishing your WordPress content to Facebook automatically, we recommend you to go through this article detailly and get started.
How to add Google Analytics to WordPress with and without plugins?
10 Ways to improve SEO on WordPress for ranking higher on Google and other search engines



Readers Comment