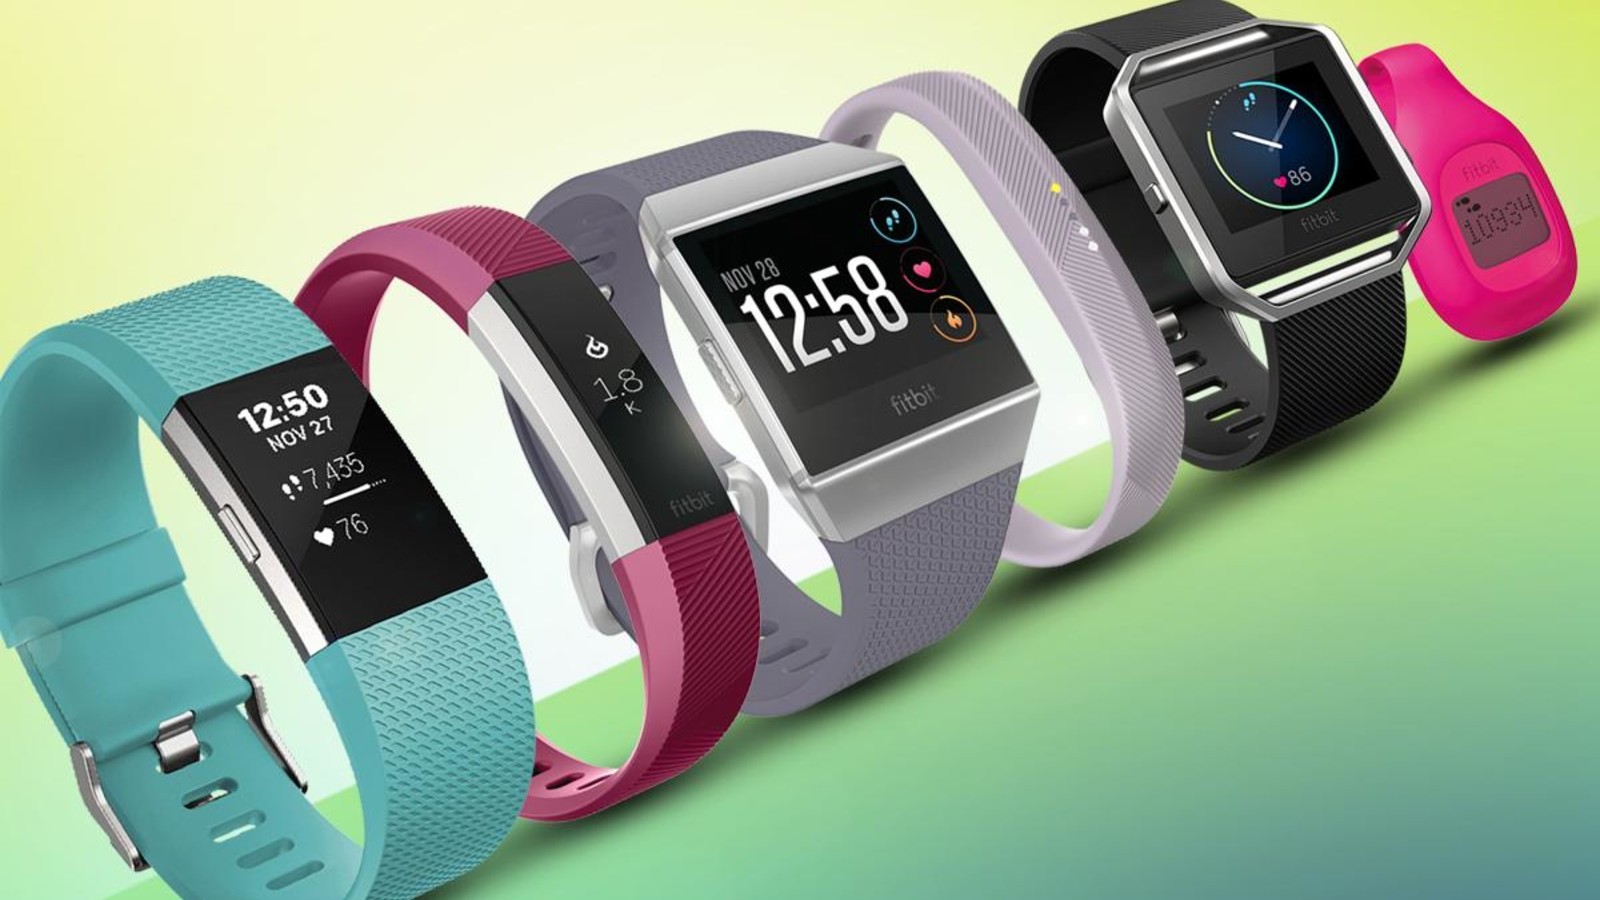
Fitbit Inc. is an American company whose major products are activity trackers, wireless-enabled wearable technology devices. These devices are capable to measure data such as heart rate, a number of steps walked, a number of steps climbed, quality of sleep and other personal metrics that involves fitness.
Fitbit wearable devices come with a lithium-ion battery.
The reasons why Fitbit device's battery may not charge
It is possible that dust and debris can accumulate over time in pins of the device or the charging cable and battery may not charge. So always clean the charging pins and contacts on the back of your devices. It is also possible that the USB port that you use is faulty. Always consider using an original USB port to ensure that your device is connected securely.
Here is a tip for charging your Fitbit-devices for various series:
ACE 2 and INSPIRE SERIES
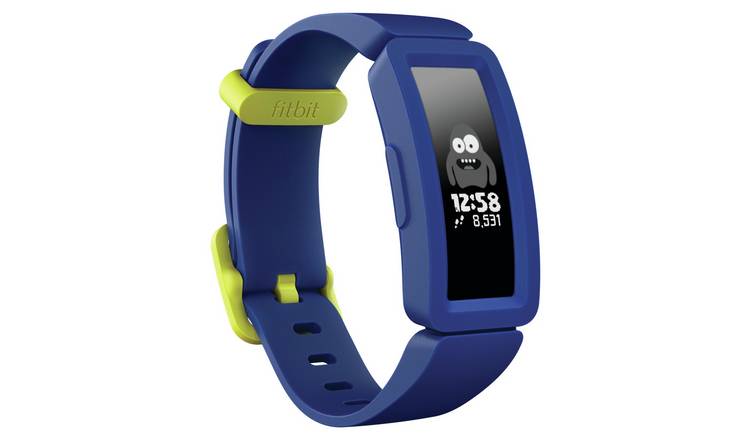
These both series provides a similar method of charging. You can try holding the end of the charging cable near the rear surface of the device until it attaches magnetically. When the charging cable aligns with the port it vibrates and takes nearly two hours of time to charge fully. You will see a smiling face when your press on the side of your device when charging completes.
ACE and ALTA SERIES

This Series is the company's Kids tracker. It provides a charging clip to ensure a solid connection to the devices while charging. Make sure the pins on the charging cable is locked securely with the port. It notifies the connection with vibration and battery icon appears on the screen. Your battery is full when the image in the battery icon is full.
CHARGE 2 and CHARGE 3 SERIES
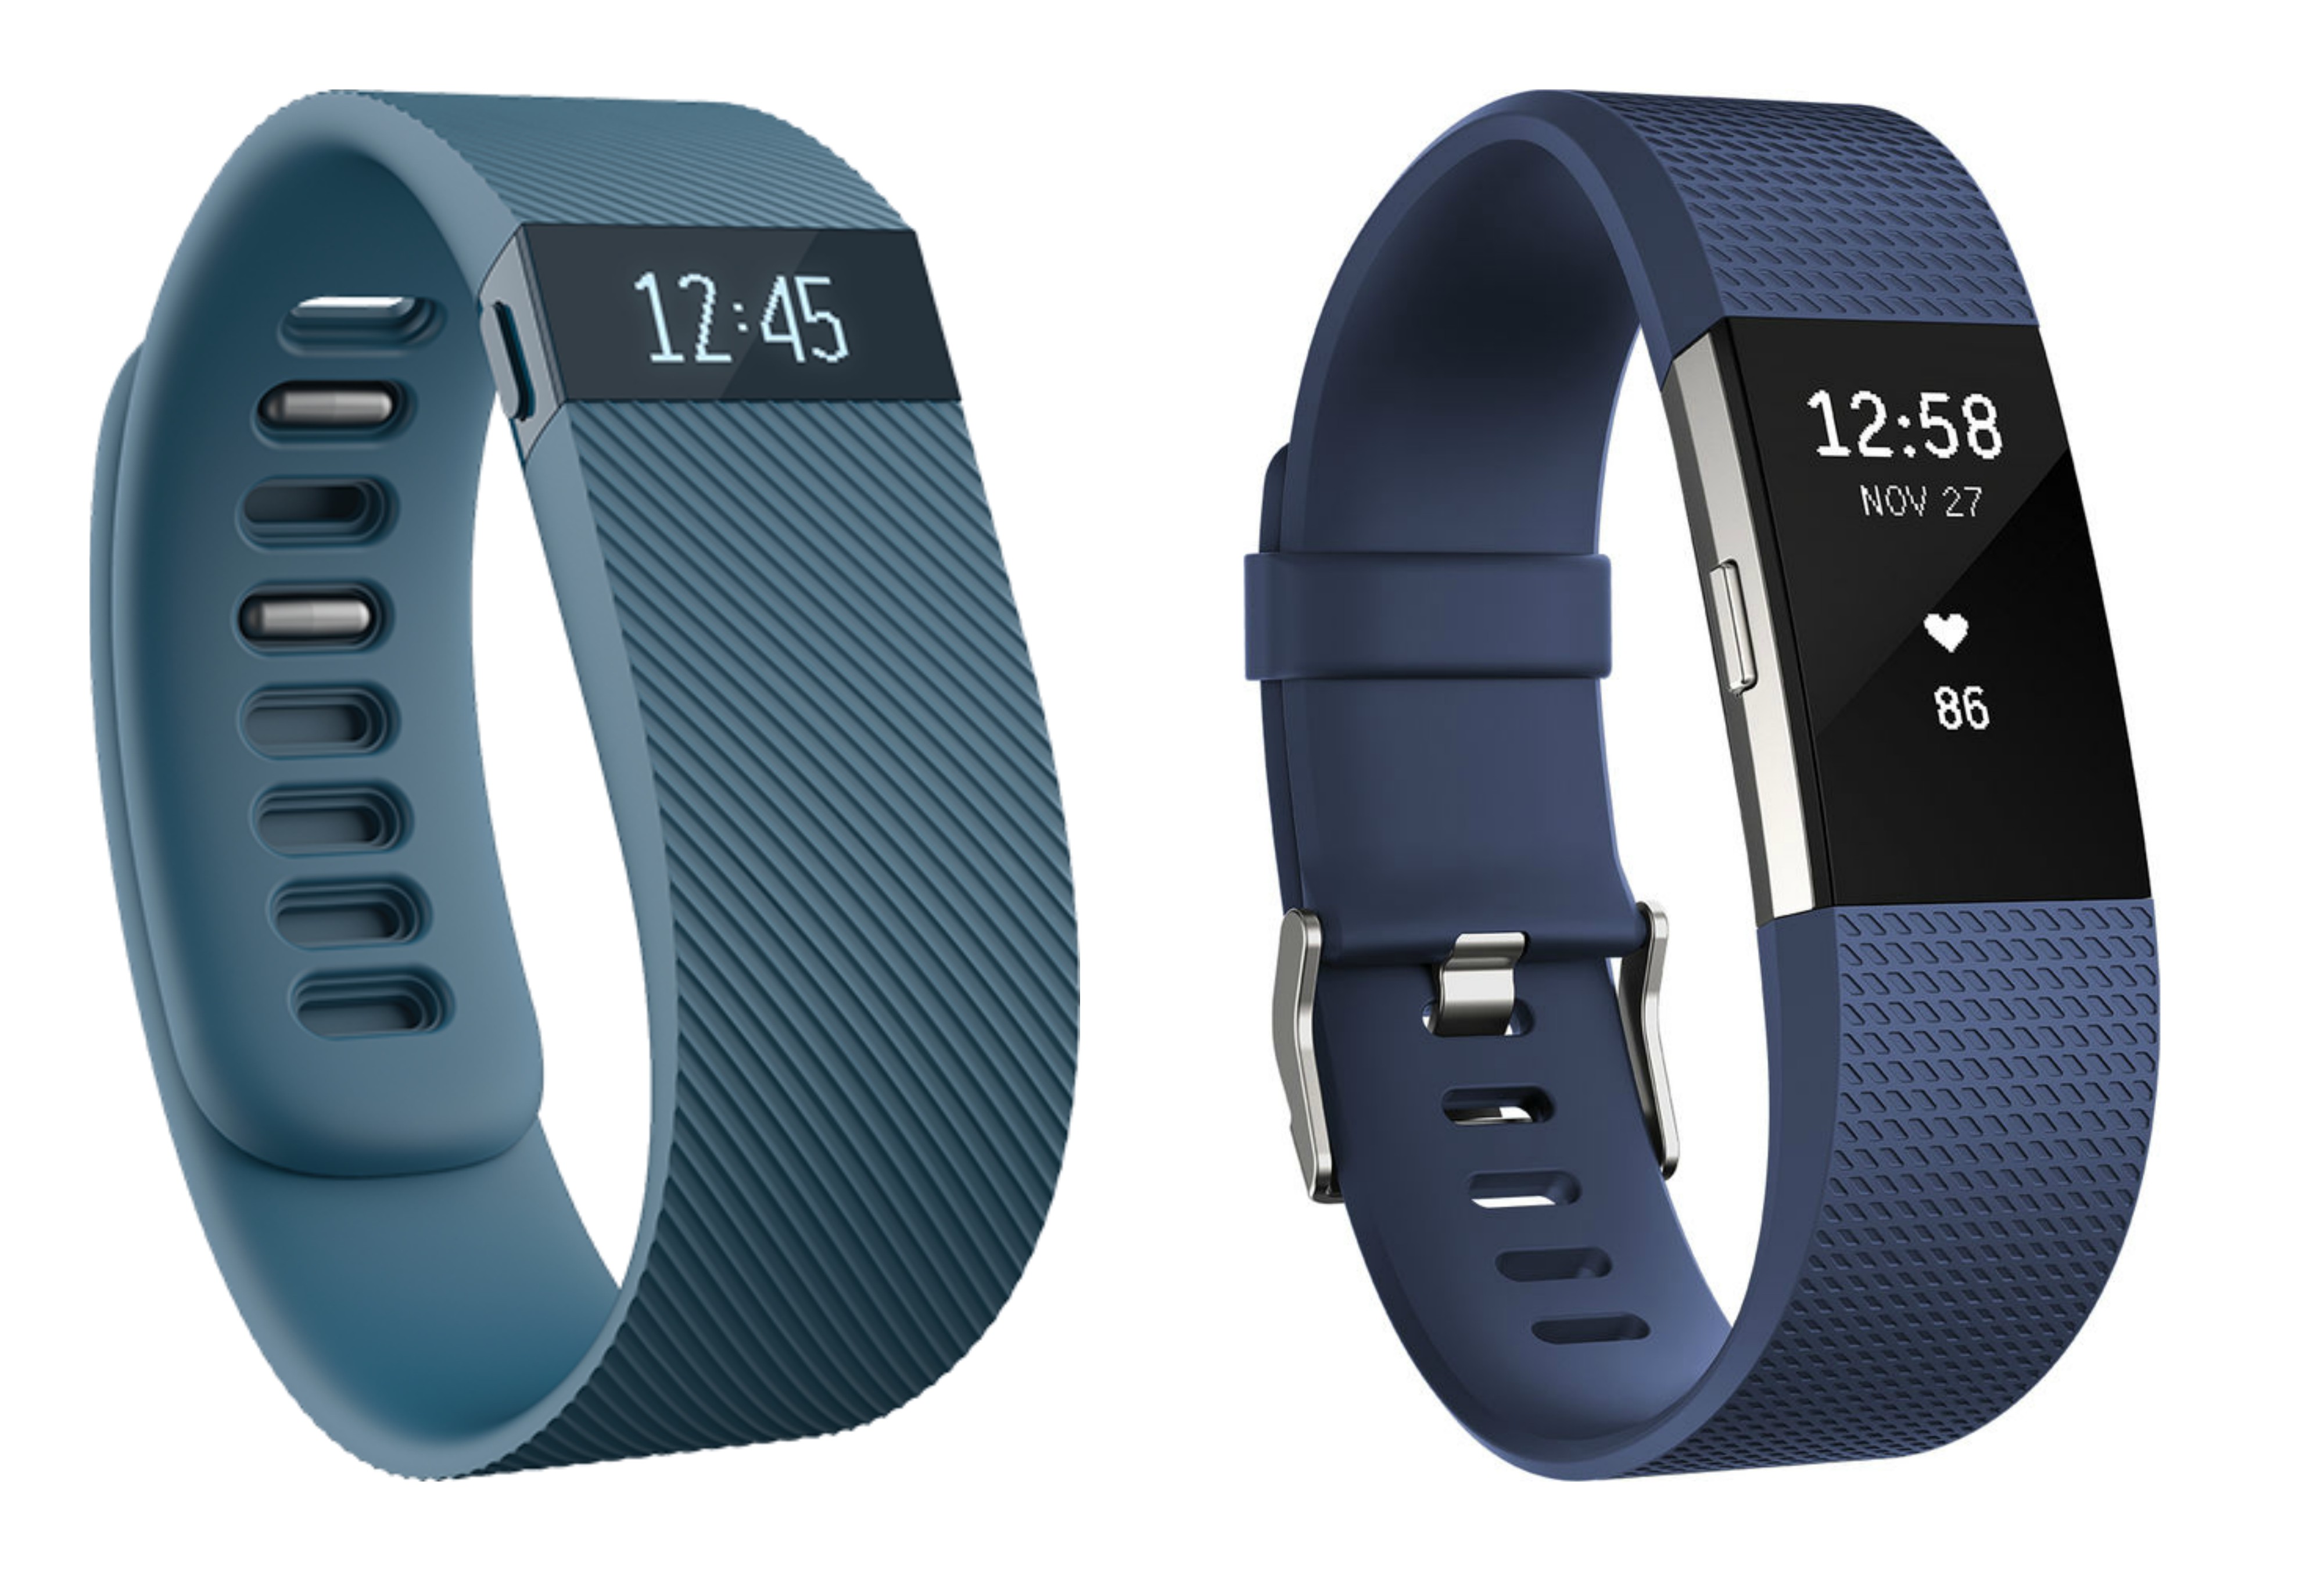
This series also provides the clipping mechanism while charging the battery. You can clip the end of charging cable on the rear surface of the device. Make sure the pins on the charging cable is locked properly with the port. Button on the device should align with the button opening on the charging cable. Your connection is proper when the device vibrates and battery icon appears on the screen
FLEX 2 SERIES
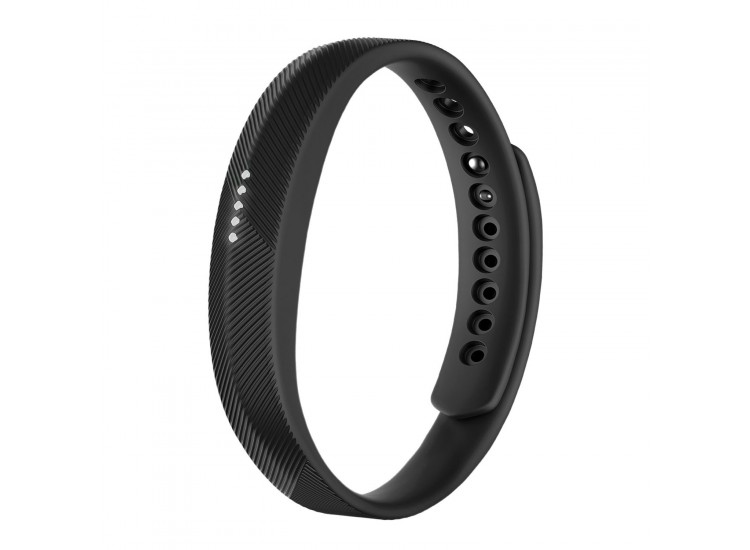
This series provides compartment on the charging cable. You can press the device to this compartment. Make sure to lock pins on the charging cable that locks properly with the corresponding pins on the rear surface of your device. The connection is indicated by vibration and lights blink.
IONIC
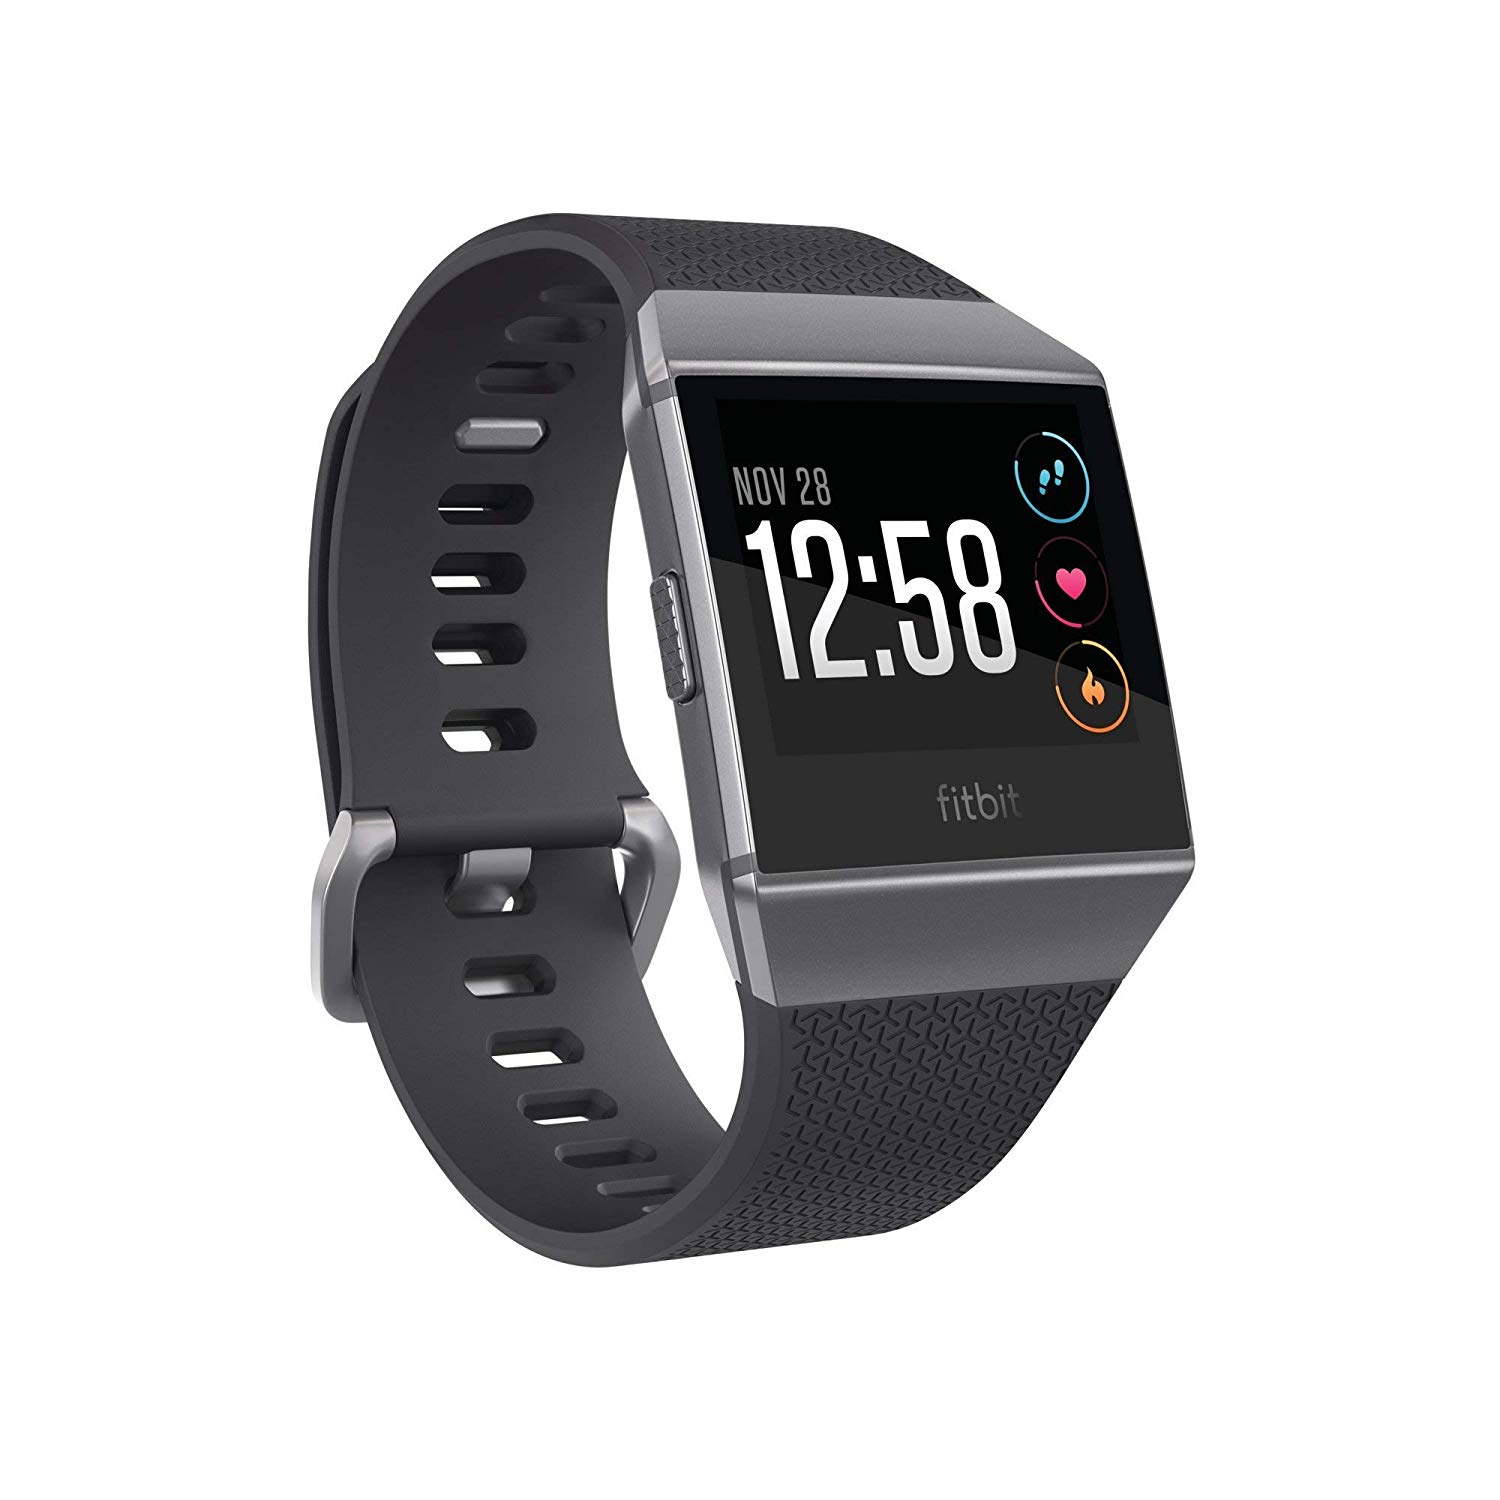
It offers a magnetic charging solution. Before you line up the charger's pin with the pin on the watch you will need to plug the USB charging cable into the power source. The magnetic force will click the charger into the right place. Once a connection is made the watch will vibrate and you will notice a battery icon and percentage on the screen.
BLAZE
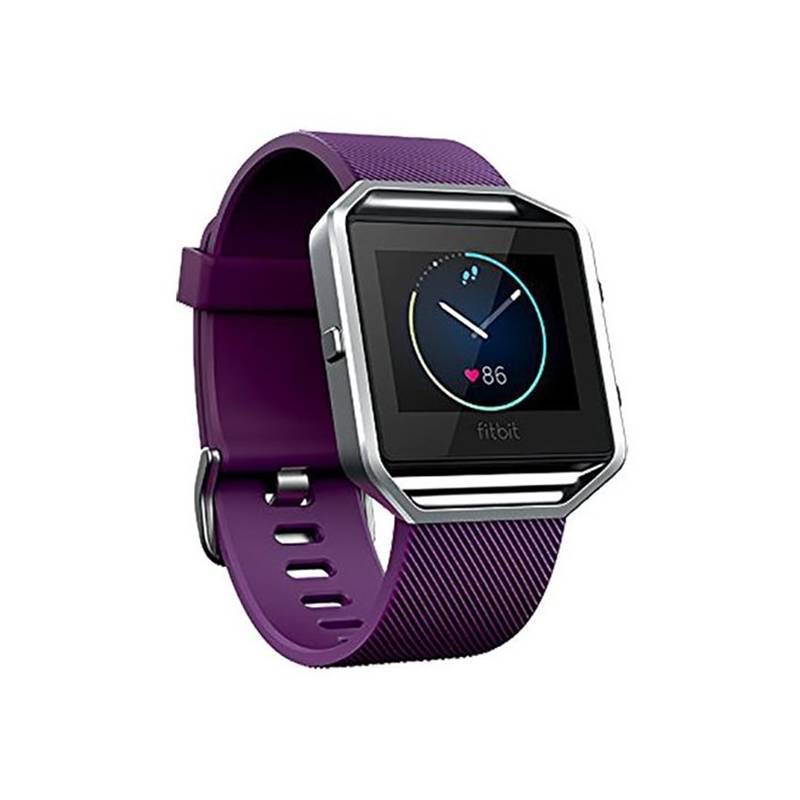
You will need to remove the device from the wristband. To remove your device gently push the screen until it detaches from the frame. Place the device inside the charging cradle with the screen of your device facing towards you. Align the device with four gold prongs and close the cradle cover. A battery icon appears on the top left of the screen to indicate charging.
FLYER
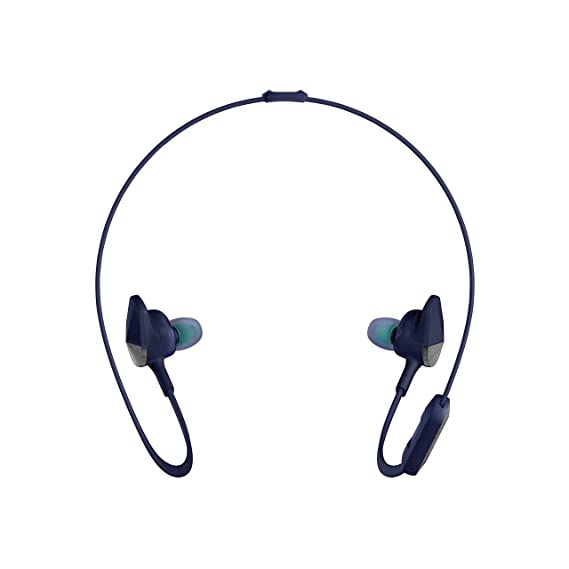
It offers an obvious and straightforward method of charging the device. You can simply plug micro- USB 2.0 charging cable into the device's charging port that is located underneath of the cover. One thing to keep in mind is that FLYER can't be used while charging





Readers Comment